Loved for their incredibly unique leaves, Fishbone Cacti are not only super easy to care for, but are also a perfect plant to propagate. No matter how young, old, big or small your plant is, you’ll be able to create more it pretty easily.
In this post, we will go through each of the methods to help you choose which is right for you and your plant. You’ll also find a list of tools you’ll need as well as how to diagnose and fix any issues you might come across along the way.
Why propagate a Fishbone Cactus?
Before we get into the different methods, we thought it’s important to start with the various reasons why you might actually want and need to propagate your plant. Firstly, who can say no to free plants? It’s a great way to extend your urban jungle without having to spend any more. And if you don’t have any more space for plants, Fishbone Cactus cuttings make great gifts for friends and family.
During the dark winter months, growth can become quite leggy and uneven. Pruning your plant can help encourage bushier growth and also help your Cactus fit into the space better if it’s grown a bit long. Instead of throwing away those great cuttings, you’ve taken as you prune your plant, why not use them and create new plants!
You might also propagate your Fishbone Cactus out of necessity if your plant sadly starts to develop brown, yellow, mushy or dry leaves. We would always recommend you look to diagnose the issue and attempt to fix it but if things don’t start to improve you might need to cut off a healthy part of the plant to keep it alive. When doing this you need to make sure that the part you are using is still completely healthy. Any issues with the cutting won’t go away and can very quickly kill your cutting.
You can propagate a Fishbone Cactus in many ways
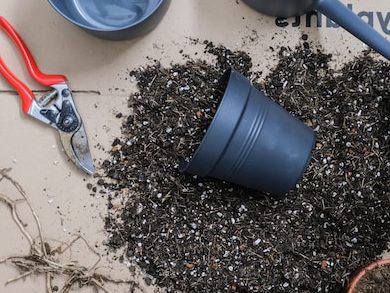
What tools will I need to propagate my Fishbone Cactus?
Let’s start off with the easy part – knowing exactly what you’ll need when. It’s important to make sure you have all the right things before you take that first cut!
Healthy and mature Fishbone Cactus
Sharp scissors/shears
Spare pot(s)
Fresh soil and water
Newspaper or plastic sheet if you’re propagating indoors
What are the different methods I can use?
There are two main methods that you can use and luckily they are both quite simple. You can either propagate through leaf cuttings or through the division of the mother plant. Division tends to be best if you have quite a mature plant with lots of offshoots and stems so if your Fishbone Cactus is still quite small then leaf cuttings might be the best option for you.
We will go over each different method in detail below so you can figure out which is the best for you and your plant!
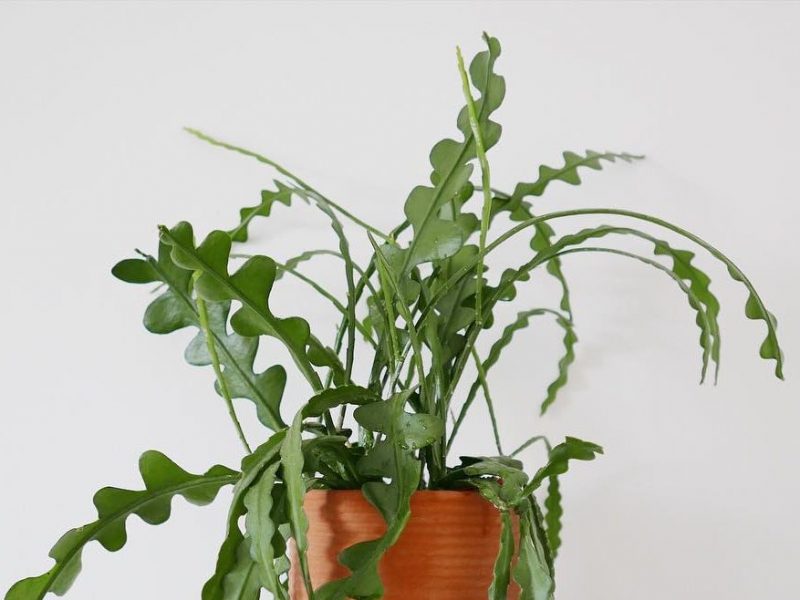
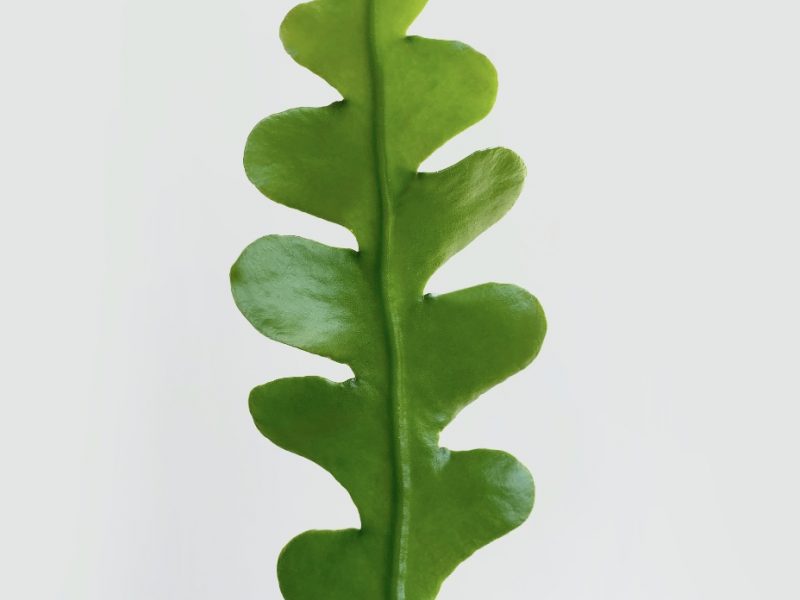
Fishbone Cacti can be propagated through leaf cuttings
How to propagate a Fishbone Cactus using leaf cuttings
This is the main method as it’s suitable for all maturities and lengths of plant. Luckily, it’s also really easy and has quite a high success rate if the steps are followed.
Another great thing about the leaf cuttings method is that you can create several new Fishbone Cacti plants in one go! In the steps below we will assume you are just using one leaf but the process doesn’t change at all if you choose to do more.
Locate a healthy leaf
When taking a leaf cutting you want to make sure that the part you are cutting is healthy to give you any chance of success. Avoid any sign of disease or pests as they will be transferred onto your new cuttings and very quickly take over your new plant. Leaf cuttings are much more susceptible to disease and sensitive to bacteria so this part is key.
Make the cut
Using sharp scissors or a knife make the cut across the leaf. Make sure your tools are clean as you don’t want to pass on any direct, bacteria or pests to the wound in your cutting.
We recommend cutting diagonally across the leaf to increase the surface area for root growth. Cutting diagonally does also slightly increase the chances of bacteria getting into the cutting but the risks are low and the positives outweigh that risk in this case.
Let the cutting callous over
Leave your leaf cutting out in a warm but dry place for a few days. This will ensure the cutting wound callouses over and will help prevent any bacteria getting into the actual leaf when you place it in water.
Fill up your container with water
Next, you want to fill up a container with fresh temperate water to place your leaf into. Make sure you don’t use hot or cold water as this can very quickly kill your cutting by burning or shocking it. We also like to use a clear glass to pop our cuttings into. It means you can keep an eye on how the roots are growing and spot any issues quickly.
When placing your leaf into the water, make sure that the bottom 5 centimetres are submerged but not too much more as this will increase the risk of leaf rot.
Change out the water regularly
One of the most important steps in the process is to switch out the water in your glass regularly (every 2-3 days). This keeps the water free from bacteria and stops it from stagnating which is harmful to your cutting. Stagnant water will also start to smell so you’ll really want to avoid this.
Be patient
This is the part of the process where things can get a little boring. It can take several weeks until you see any new root growth so just make sure you continue to regularly change out the water during this time.
Plant your cuttings into fresh potting mix
Once the roots on your Fishbone Cactus leaf cutting are between 5-10 centimetres long, it’s time to pot them into soil! We recommend using a high-quality potting mix to make sure your cuttings are getting enough nutrients. Carefully place your cuttings a few centimetres into the soil, making sure not to damage the newly formed roots as they can be quite delicate at this stage.
We recommend using a high-quality succulent potting mix as this will help with drainage and aeration in the soil. Overwatering and root rot is a common plant killer so it’s important your potting mix contains ingredients such as perlite to help avoid this.
Resume usual care
For the first few weeks of your cuttings living in potting mix, we recommend keeping the soil a little more moist than usual as the cuttings are used to living directly in water. Gradually reduce the amount you are watering and after two to three weeks go back to your usual Fishbone Cactus care. Soon enough, with enough love and the right environment, your cuttings will soon be long enough to propagate all over again.
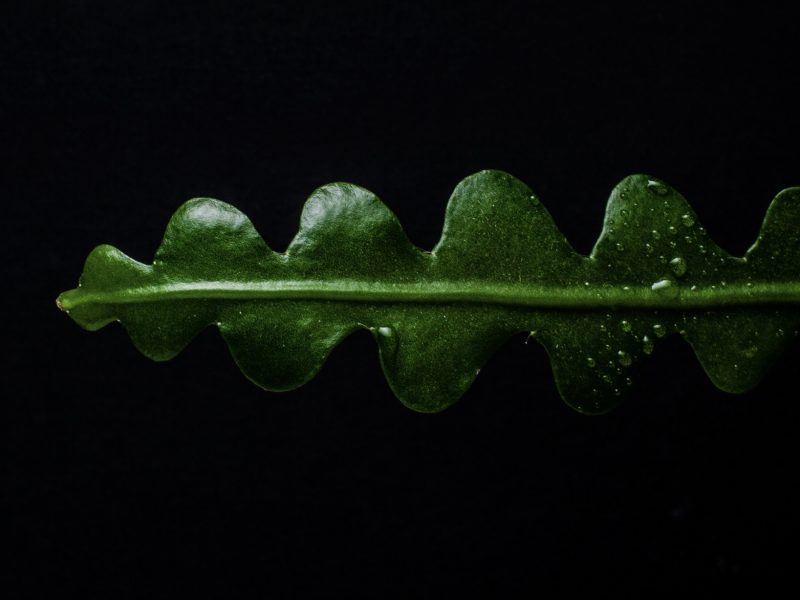
Fishbone Cactus Leaves

How to propagate a Fishbone Cactus through division
This method only really works if your plant is quite bushy and you don’t mind taking a chunk from it to form a new plant or two. This method is also perfect for those who don’t want to wait weeks and weeks for any new growth. With the process of division, you get more plants instantly!
Take your plant out of its pot
In order to propagate your plant through division, you need to be able to locate the various vines and separate out the roots. Take your plant out of its pot carefully, trying not to damage the beautiful leaves.
Locate the various natural divisions
Shake off the potting mix around the roots so you can see the entire root system clearly. Don’t worry too much if a few roots break, this is inevitable and shouldn’t cause too much harm to your plant.
When looking for a part of the plant to divide it will become very obvious that there are various different offshoots and stems on your Fishbone Cactus. The best way to locate them is by following each individual leaf and loosening the roots around it. There should be several sections of your plant that are completely separate from each other.
Separate your plant
At this stage, you need to choose how many plants you want to end up with and how many sections will be in each plant. There’s no right or wrong way to do this and it depends entirely on how big and bushy your Fishbone Cactus is.
Place each section in fresh potting mix
Pop your mother plant back into its original pot (or downsize to a new pot if you’ve removed a lot from the plant). Then pot your new Fishbone Cactus into fresh potting mix. You want to make sure you are using a well-draining potting mix as this will help avoid problems such as overwatering.
Continue normal plant care
You’re all done! Now all that’s left is to continue your usual plant care routine and watch them grow.
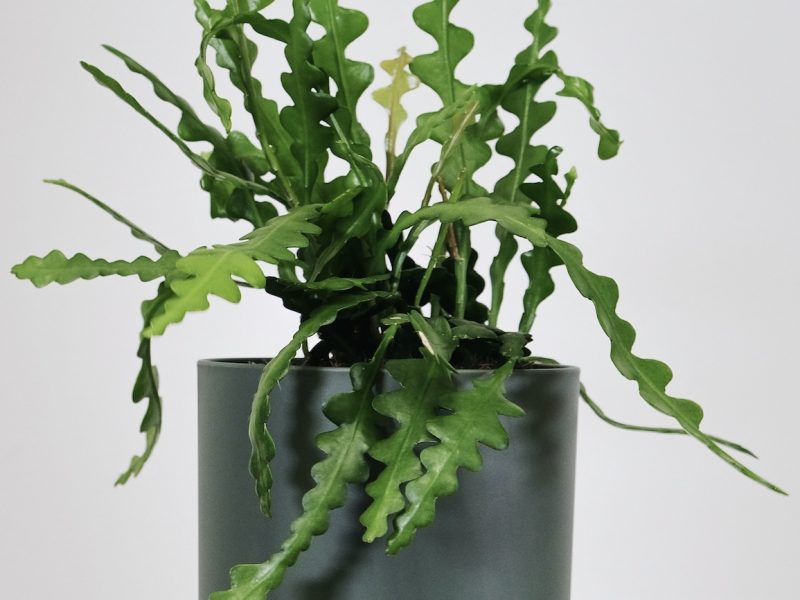
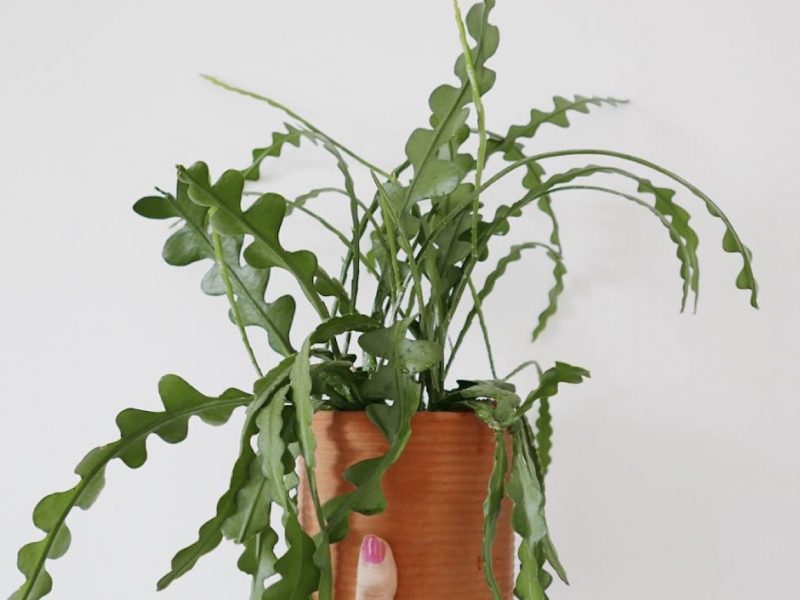
Leaf cuttings on a Fishbone Cactus
Fishbone Cactus Propagation FAQs
Propagating your plant can be a little scary as you have to actually take chunks of the gorgeous zig-zag leaves. However, don’t worry at all as we have the answers to all of your questions to make sure that you come away with new healthy and happy houseplants.
When is the best time of year to propagate my Fishbone Cactus?
For the best chance of success, you want to always start at the beginning of spring. This will give your Cacti several months of warm sunny weather to grow nice new roots and leaves. This is particularly important when using the leaf cutting method as it takes the longest for new growth to appear.
Should I use a rooting gel or powder when propagating my Fishbone Cactus?
Whilst it is not essential, you can have a lot of success with rooting hormone.
Should I use a grow light for my Fishbone Cactus cuttings?
Grow lights are great to use when you’re propagating without much natural sunlight. They help to stimulate both root and leaf growth and can be used to speed up the process too.
Grow lights are also super useful for more mature houseplants during autumn and winter. They help to avoid leggy growth that often occurs during the darker months so are a worthwhile investment for any plant parent.
Can I propagate a Fishbone Cactus from a single leaf?
Yes, and leaf cuttings are one of the best methods as they root pretty easily in water!
Propagating your Fishbone Cactus is easy!
Common problems when propagating a Fishbone Cactus
Although Fishbone Cacti are one of the simpler houseplants to propagate, it doesn’t mean that it won’t come with some issues along the way.
Why isn’t my Fishbone Cactus cutting growing any roots?
Growth on leaf cuttings is so unpredictable and can be very different even in the same glass of water or in the same spot in your home.
Make sure your cutting looks healthy, has ample light (but no harsh direct light), enough warmth and fresh water you should see roots develop soon.
If you are trying to propagate when the temperatures in your home are quite cool then this may be the cause of the lack of root growth. You can help to speed up root growth on your cuttings by using a heat pad that you place underneath your cuttings. This warms up the area and provides an ideal environment for new growth.
Why is my Fishbone Cactus cutting turning mushy?
If your cutting is turning brown and mushy then unfortunately this isn’t a good sign at all. This is usually due to the cutting rotting in stagnant water. You want to make sure you are regularly refreshing the water (every 2-3 days or more) so that it doesn’t encourage the growth of bacteria. We recommend trimming away the mushy parts of your leaf cutting and as long as the rest of it is healthy, you should have success.
In future, a good way to stop your cutting from getting mushy again is by making sure that the leaves are not submerged in the water as they will rot pretty quickly.
Why is my Fishbone Cactus losing its colour?
There are two main reasons why your Fishbone Cactus may be going yellow or brown. Firstly overwatering causing the roots and leaves to rot. Secondly, too much sunlight can burn and scorch the leaves.
Why are the leaves on my Fishbone Cactus dry?
If the leaves on your new plant have turned very dry and crispy, you are probably not giving it enough water. Although they are very sensitive to overwatering, you can still just as easily kill them with a lack of water. Slowly reintroduce watering rather than drowning your plant as this will shock your plant and probably cause a range of other problems!
Check out our full Fishbone Cactus care guide to find all the information on how to continue to care for your cuttings once they have matured.